How to take real estate photos with a smartphone
So you want to learn how to take real estate photos with just a smartphone, congrats!
In this post, I will show you all the correct techniques and practices to make your photos look amazing with just your phone.
Firstly, whether you are a realtor, a wholesaler, an FSBO, a photographer, etc. You need to understand the importance of using a professional. To learn more about selling FSBO, read: How to sell your home by owner.
Studies show that professionally photographed homes sell 35% faster and for about 15k more. And that is not a coincidence.
Look at the images below that display the difference between using a phone, a DSLR, and a professional with a wide-angle lens.
With this in mind, if that doesn’t convince you, Scroll past the images to learn how to take the best real estate photos with your smartphone.
How to take real estate photos with a smartphone
Getting the home ready for pictures
1. Clean-declutter
First things first, before you grab your camera, you need to make sure your entire house is spottles and completely decluttered. Since the word “decluttered” can be a bit broad, or you may have doubts later on whether or not to put something away, I will just tell you what I tell every single one of my clients, which is. “If the item doesn’t need to be there, remove it altogether!”
This is an incredibly important step since a cluttered home will look smaller and tighter than it actually is. (Especially since you are using your phone’s camera)
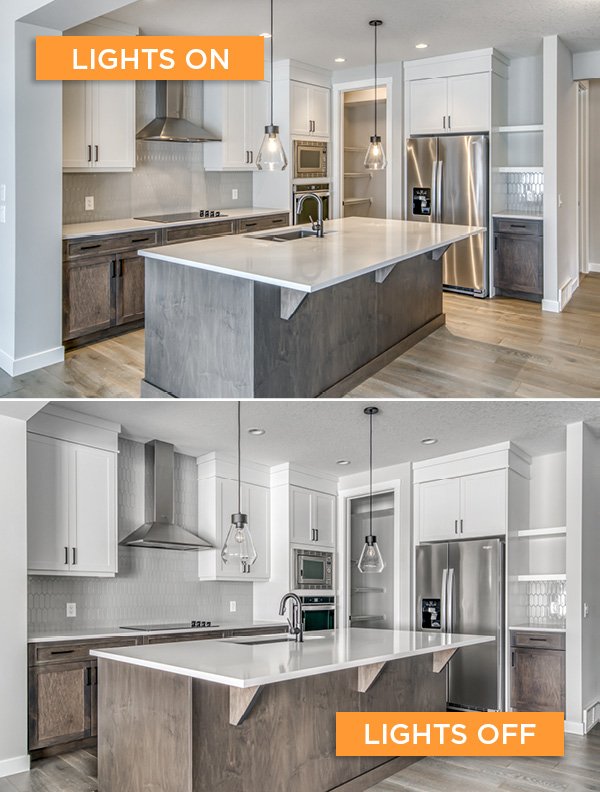
2. Lights
Make sure that absolutely all of the lights are TURNED ON. A bright home is a happy-looking home.
3. Windows
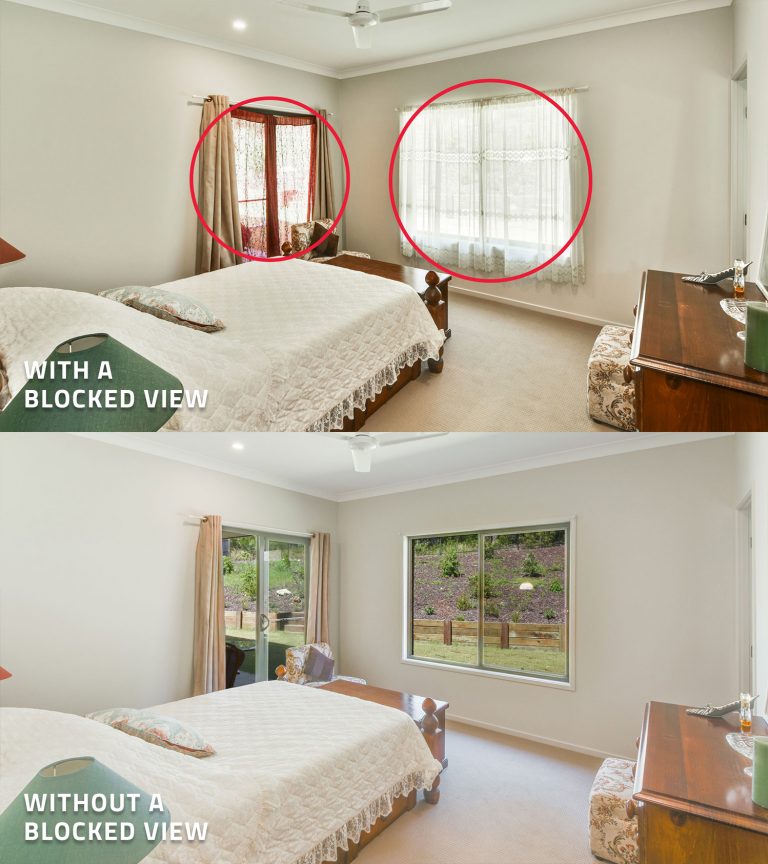
Make sure that all of the windows are spottles because you will need to open all the blinds and curtains.
This gives the photos a cleaner and more spacious look. if you close the blinds or curtains. Your pictures will look dark and the rooms will look smaller
4. Personal Items
Remove ALL OF THEM! nobody wants to see your dirty toothbrush or the pictures of your dog on the wall. Plus, again, rooms will look smaller in the pictures, and empty spaces are better for you since people like picturing their own stuff there.
I almost forgot… magnets on the fridge? yeep. remove them!
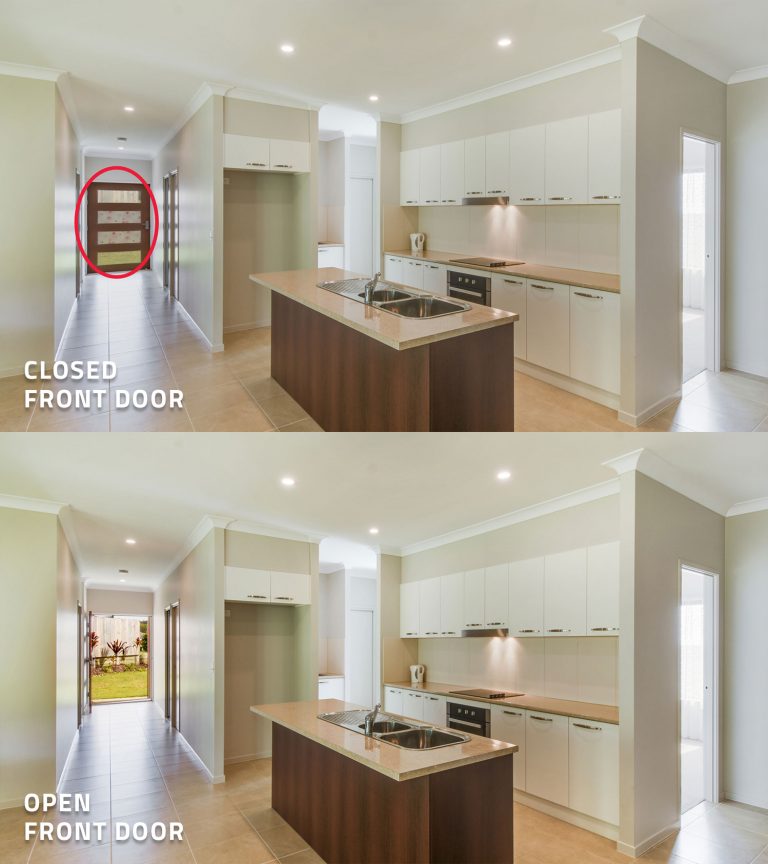
5. Doors
Your next step will be to open all the doors. As I stated before, this makes the photos brighter, makes spaces look bigger, and it is easier for people looking at your pictures in knowing what room or space is behind each door. (instead of assuming)
6. Dont’s on how to take real estate photos with a smartphone
No pictures of people, pets, plants/trees, or flowers. Yes, that beautiful flower that grows in your garden might be very pretty, but at the end of the day, it will most likely not be a deciding factor for the people looking at your pictures.
Focus on the house and its attributes. oh.. .and please please pleaseeeee. NO ONE wants to see your furnace!
How to take real estate pictures with a smartphone
1. Ready to take pictures
Congrats! after all of that hard work, you are ready to take pictures with your smartphone!
So make sure you start from the outside and tour your home in a way that makes sense.
What do I mean? you want people looking at your listing to see the pictures in order one after another so they know exactly what they’re looking at and don’t feel lost.
People tend to click out of listings when the order of the photos doesn’t make sense
2. Holding and aiming your phone right
A very important part of learning how to take real estate photos with a smartphone is.
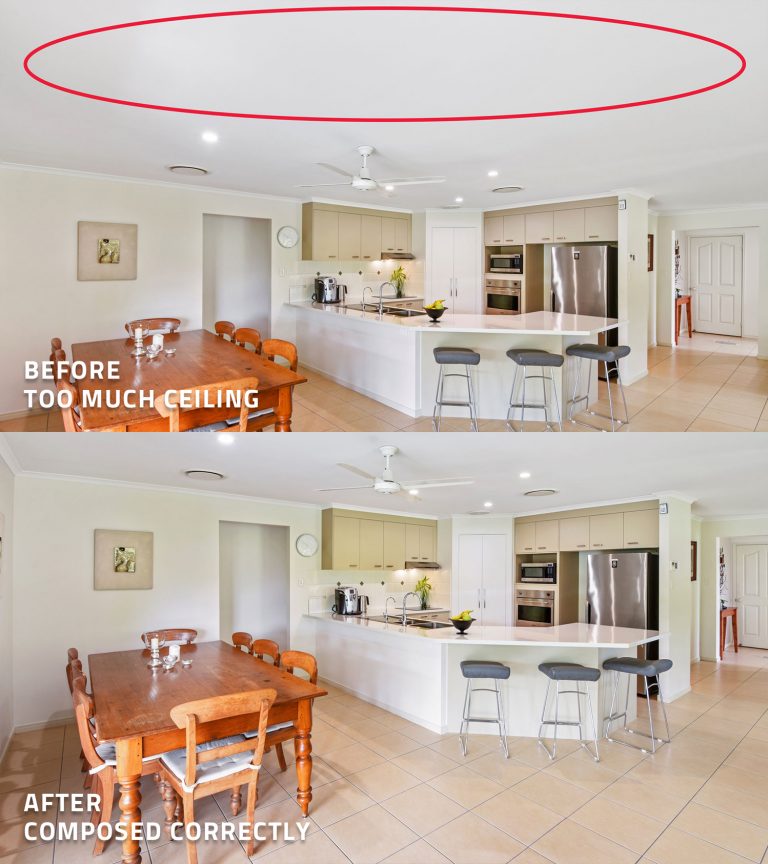
Keep your phone/camera at chest height, as level as you can, and DO NOT move it from there! It helps the flow and makes the transitions nice and easy on the eyes.
It may be tempting to place your camera above your head and take a picture pointing down. While this is not exactly the end of the world if you do it a time or two. I will suggest not doing it at all.
3. How to edit real estate photos with a smartphone
Most phones nowadays come with very easy-to-use editing features.
Just make sure you do not edit them “too much” to the point of actually changing or deleting imperfections of the home, as this can bring your problems in the future. I mean, What is the point of getting people interested in something they will dislike when they see it in person, right? So, just make sure you do not change the pictures too much.
Congrats! You have done it! Now, you will need a site to post them to. Read about the best FSBO sites in the country.
In Conclusion
Although we have very high-tech smartphones nowadays, with the fanciest cameras and all. I highly doubt they will ever be able to match the work of a professional photographer. There is so much manual work involved and these professionals have been perfecting their skills day by day.
So even if we are tempted to take the pictures ourselves, the cons outweigh the pros. Putting it into perspective: As I mentioned before, professionally photogra[hed homes sell faster and for more money. Numbers do not lie! So if you have a couple of hundred bucks. Investing them in professional pictures will pay off in the end. Only take the pictures on your own, when there is absolutely no other option for whatever reason it may be.
Do you think I missed something or disagree with something? Let me know in the comments!


